My version of small batch preserved lemons is an easy way to ferment the lemons, prepping and making the preserving process seamless.
If you’ve ever bought preserved lemons at a fine grocer or speciality foods shop and wondered if you could make a small batch at home, the good news is, yes — and it’s surprisingly simple. The salt-cure method is traditional in North African and Middle Eastern kitchens, and it’s quite perfect for a small jar or two.
I love making small batch ferments, especially if I know I am only going to need to for a recipe or two. It's ideal because sometimes, I must travel, and I absolutely love having something fermenting whilst I am away and coming back to a glorious result. It's a real treat!
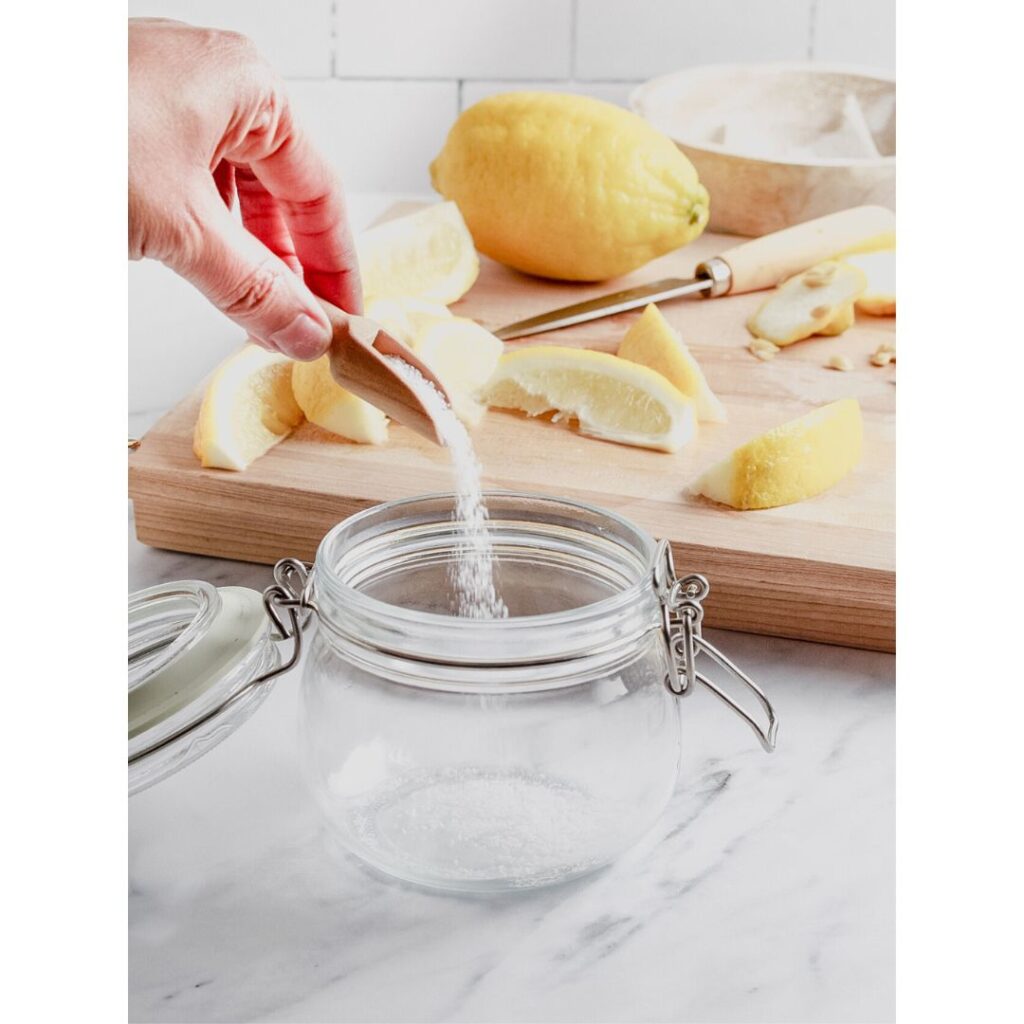
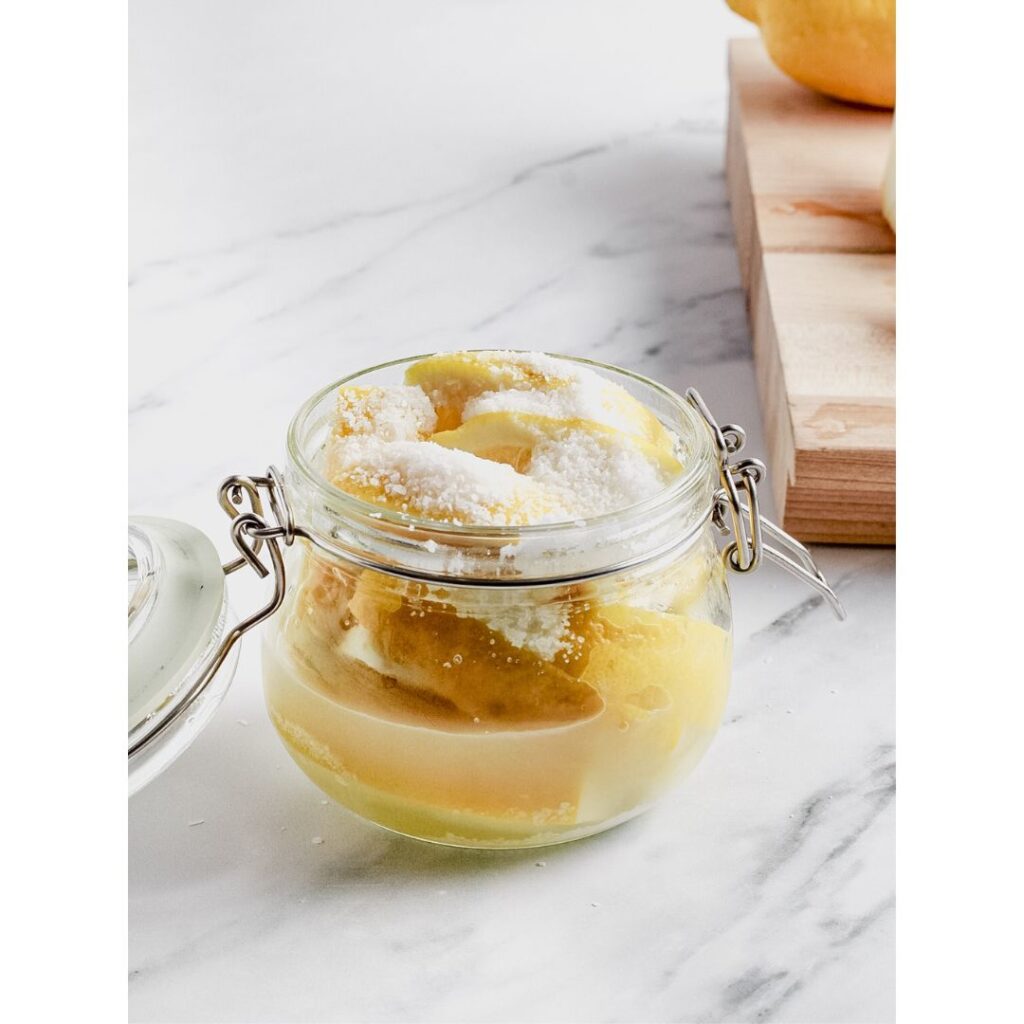
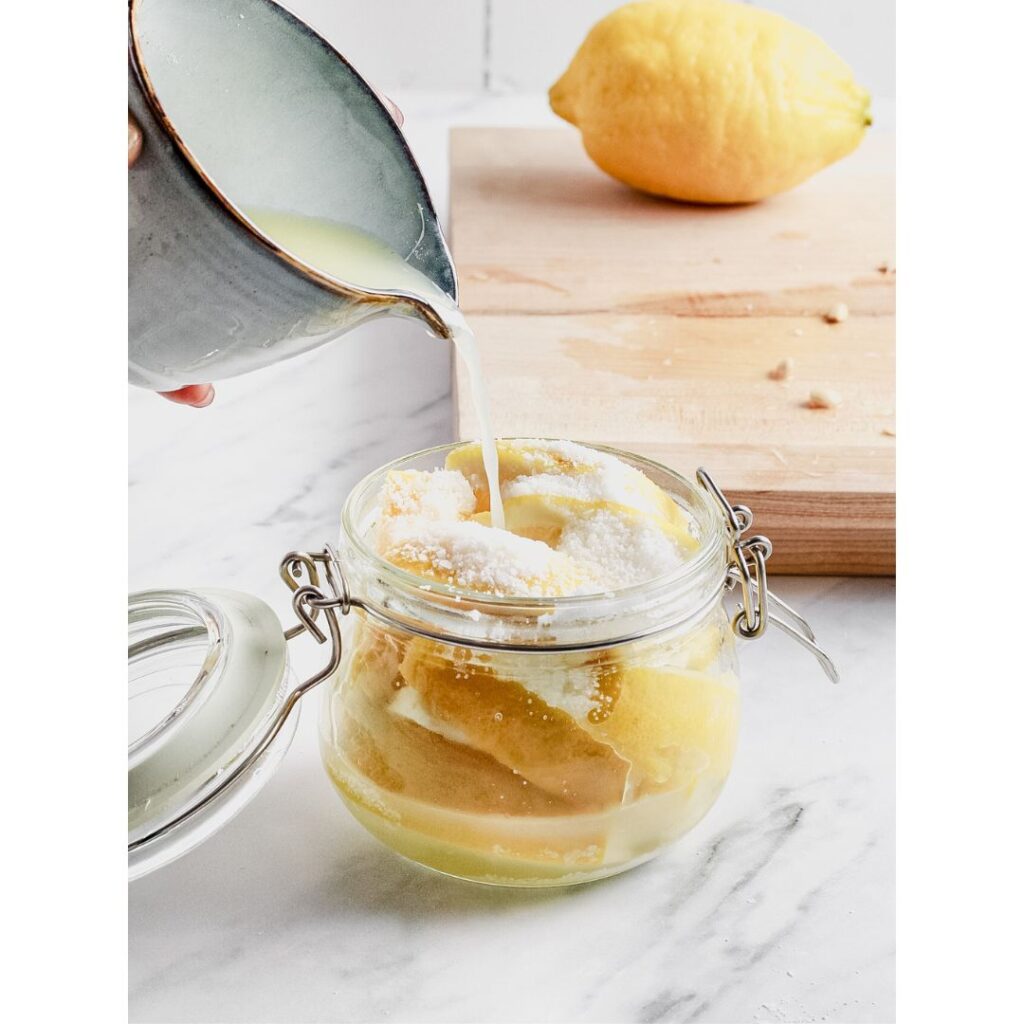
The process is essentially a controlled fermentation—salt is a naturally preserving mineral. Salt draws moisture from the lemons, which then dissolves the salt and creates a briny lemon juice that both softens the rinds and protects them from spoilage.

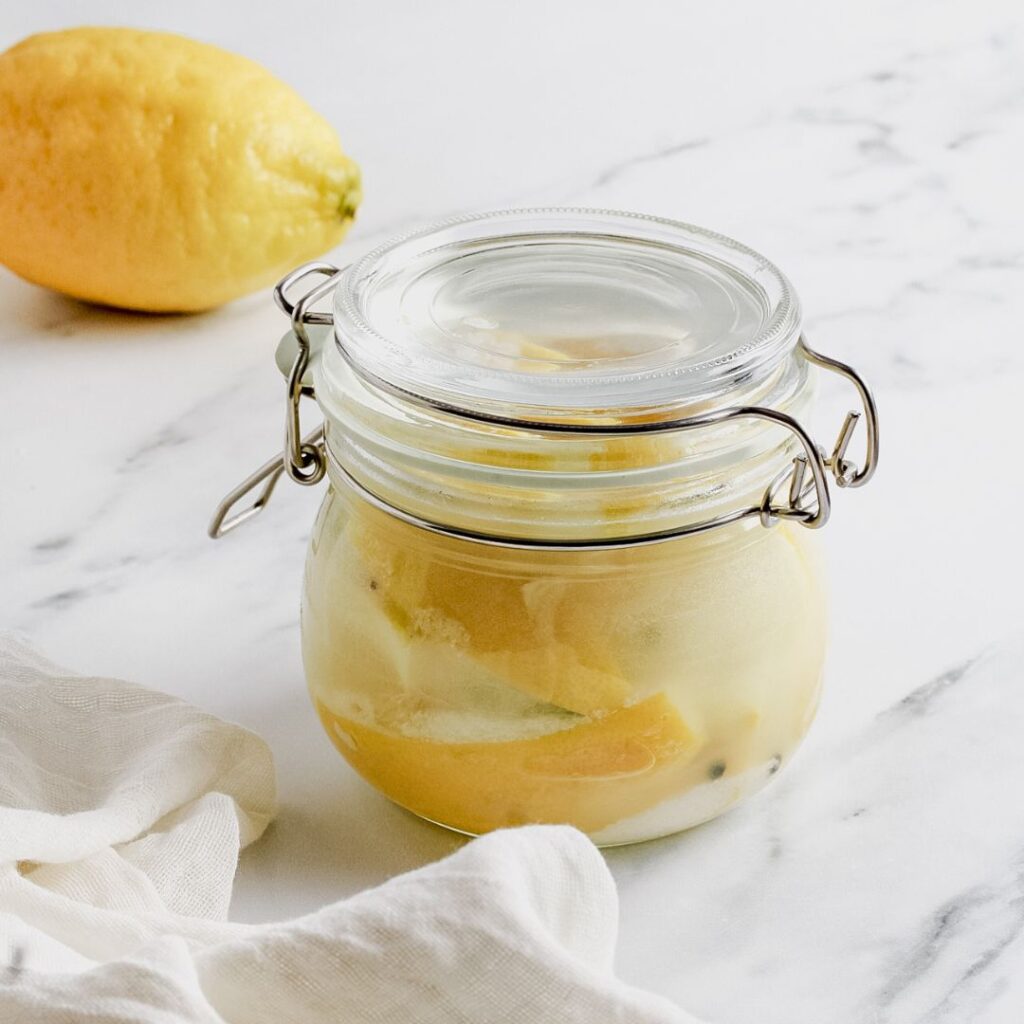
Over time, the lemons transform—softening into smooth gems with sun-soaked flavour and a delicate, almost translucent rind. In just three to four weeks of slow alchemy, they’re ready to be tucked into cooler storage, awaiting to flavour your next dish.
At this stage, each lemon carries a depth that elevates even the simplest dishes—think golden tagines, bright salads, or grain bowls kissed with citrus.
Before using, you can rinse away the excess salt, then slice or chop the rind to your liking. Sometimes the peel alone is enough; other times, the entire lemon finds its way into the dish, elevating it for that distinct unmistakable bite of preserved citrus.
If your lemons stay nestled in their briny liquid veil, they’ll keep beautifully, and it's so fragrant. Keep them at the ready whenever you need.
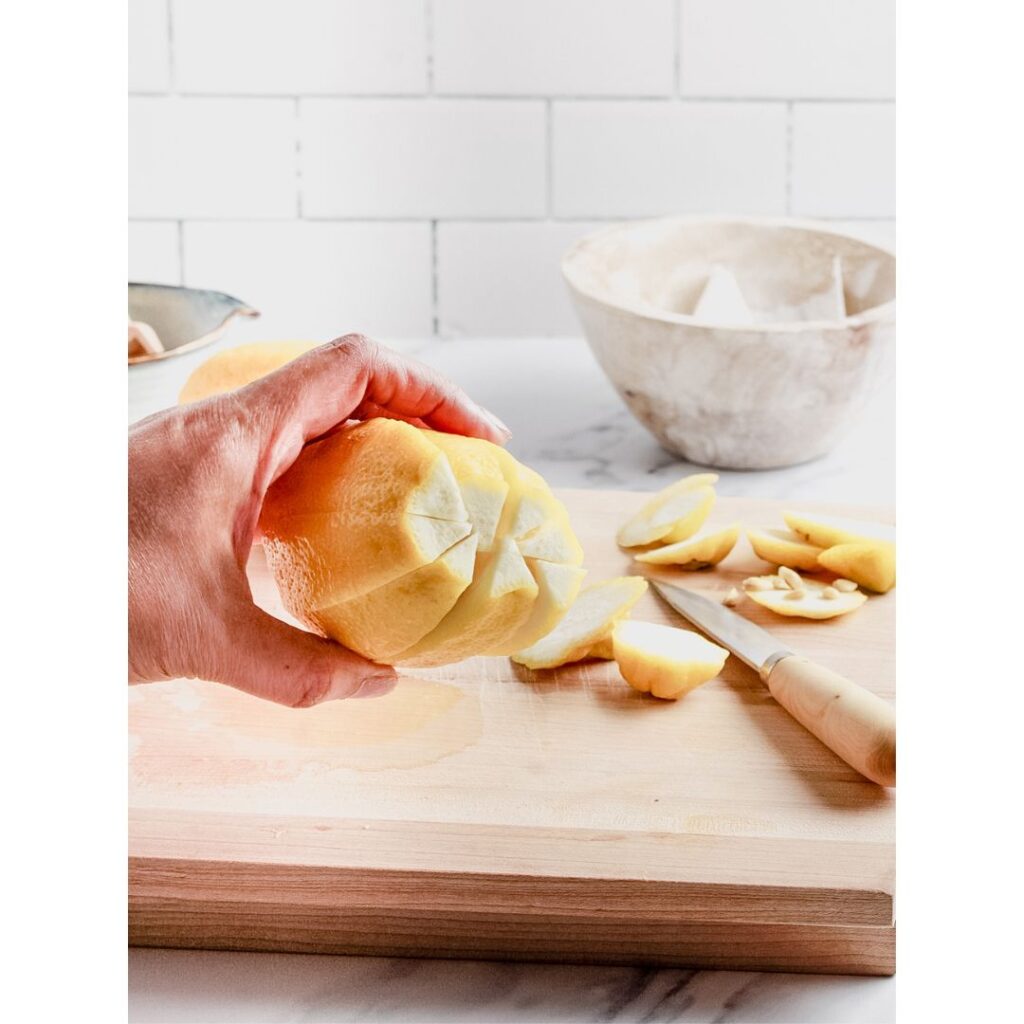
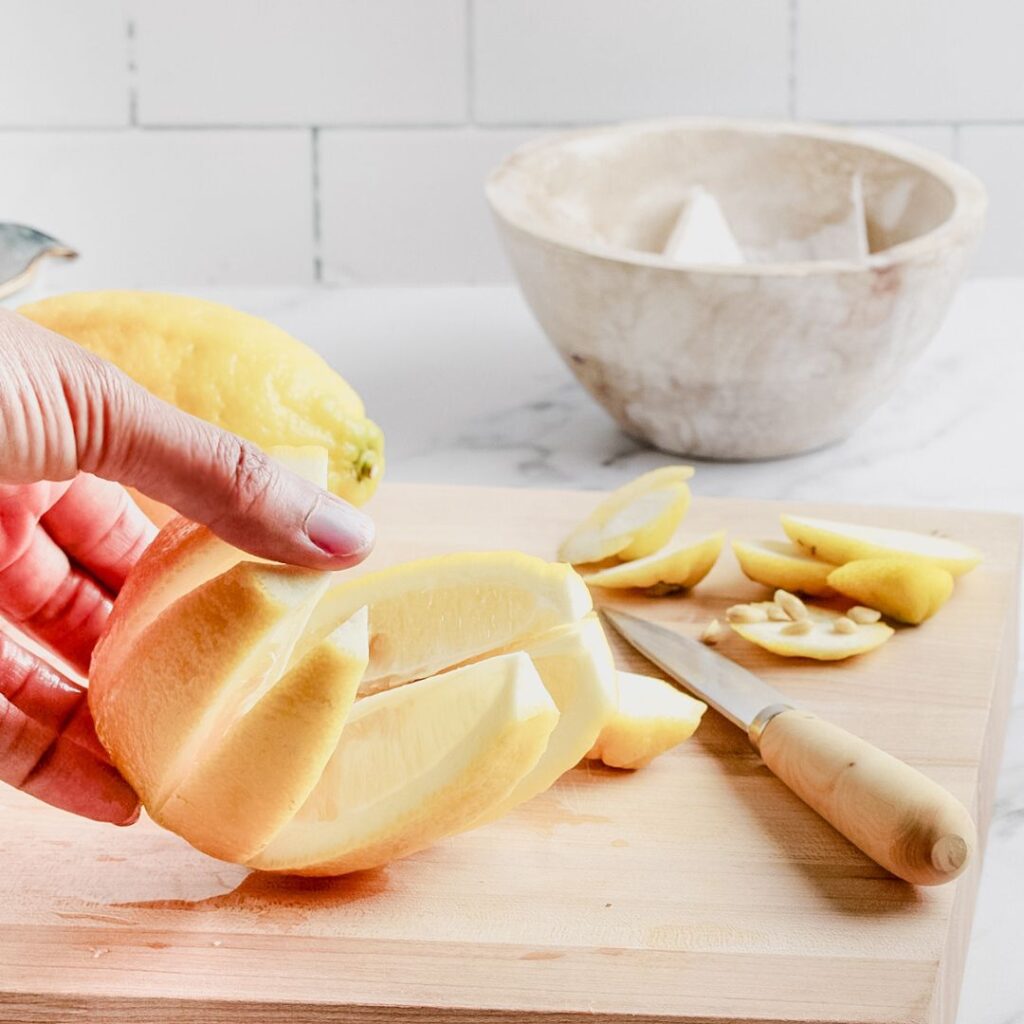
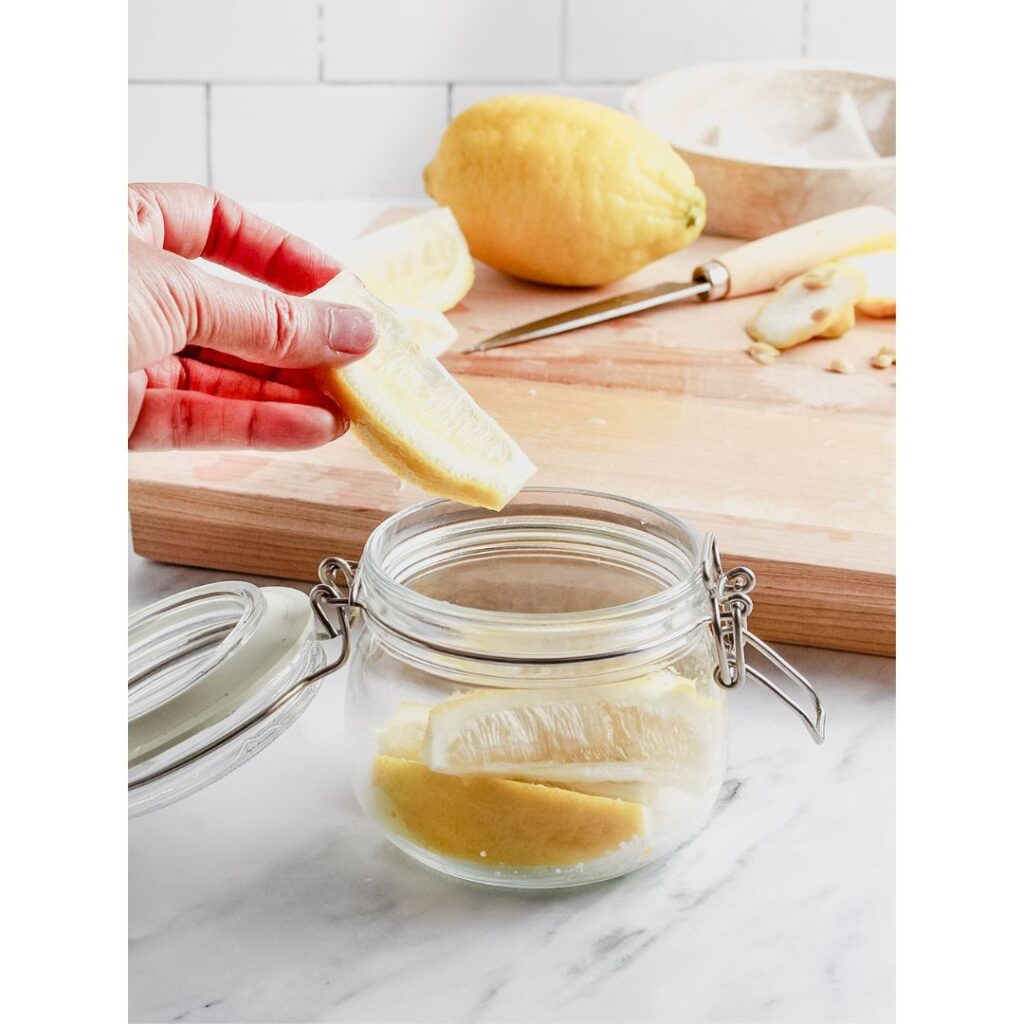
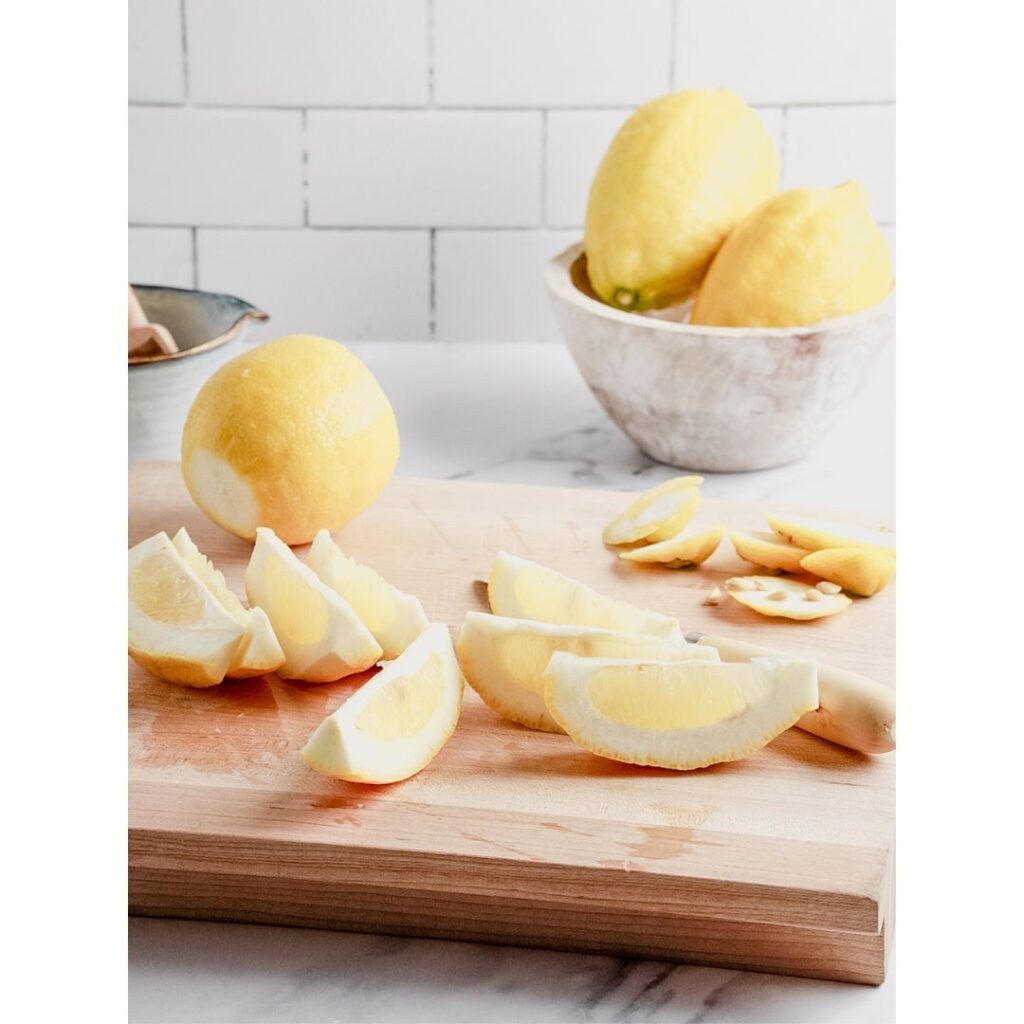
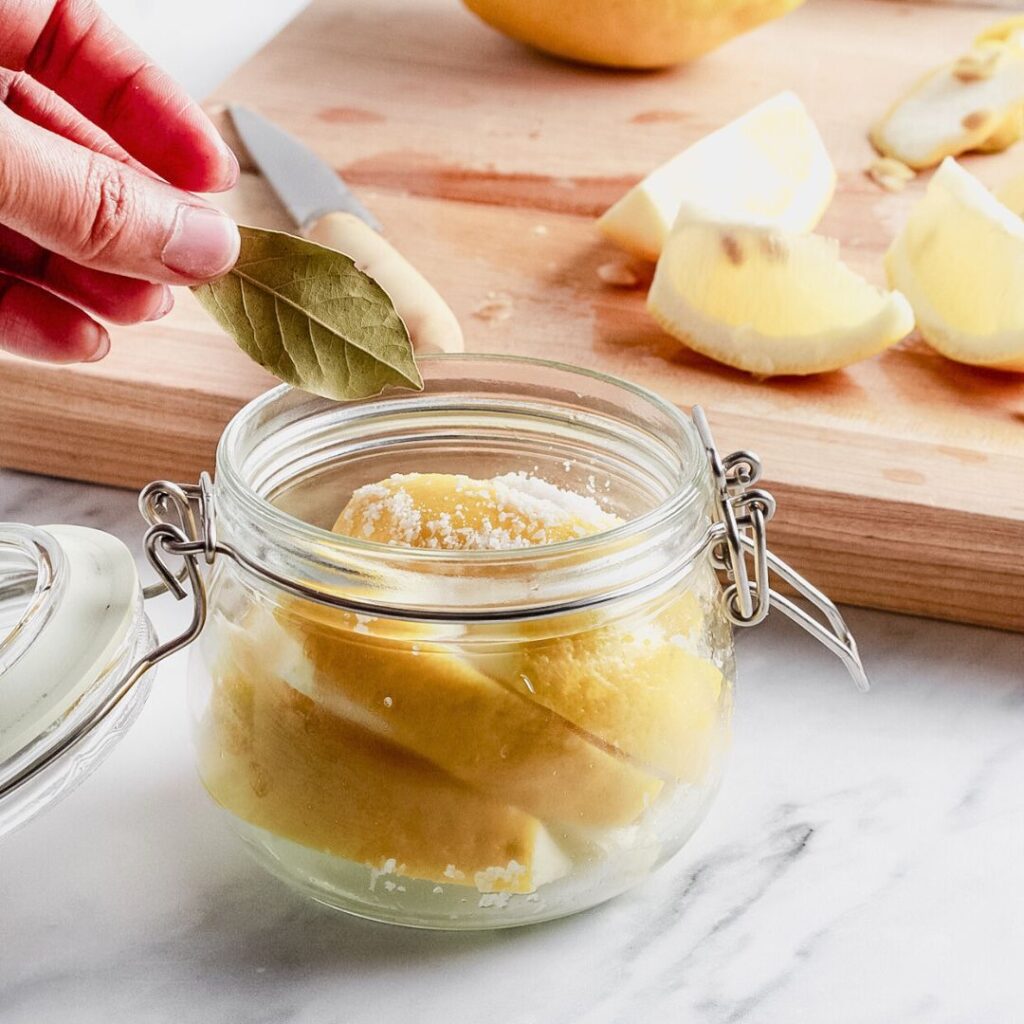
You may use a few methods for slicing and cutting the lemons in the prep. Below, I am showing you a quick and simple way to slice the lemons into large wedges.
You can also just keep the lemons whole, especially if you’re using very small lemons.
Alternatively, you can slice the lemons lengthways, but you would keep them attached to the bottom instead of running your knife all the way through the lemon. In this method, the lemon wedges are quartered but still attached at the base.
Whichever way you slice your lemons, here’s an easy way to make your own preserved lemons. I have also provided you with several ways to use them. In my home, we use preserved lemon in many dishes, from cooking to baking. Of course, the most traditional way you’ve likely heard of it is being used in a tagine or stews.
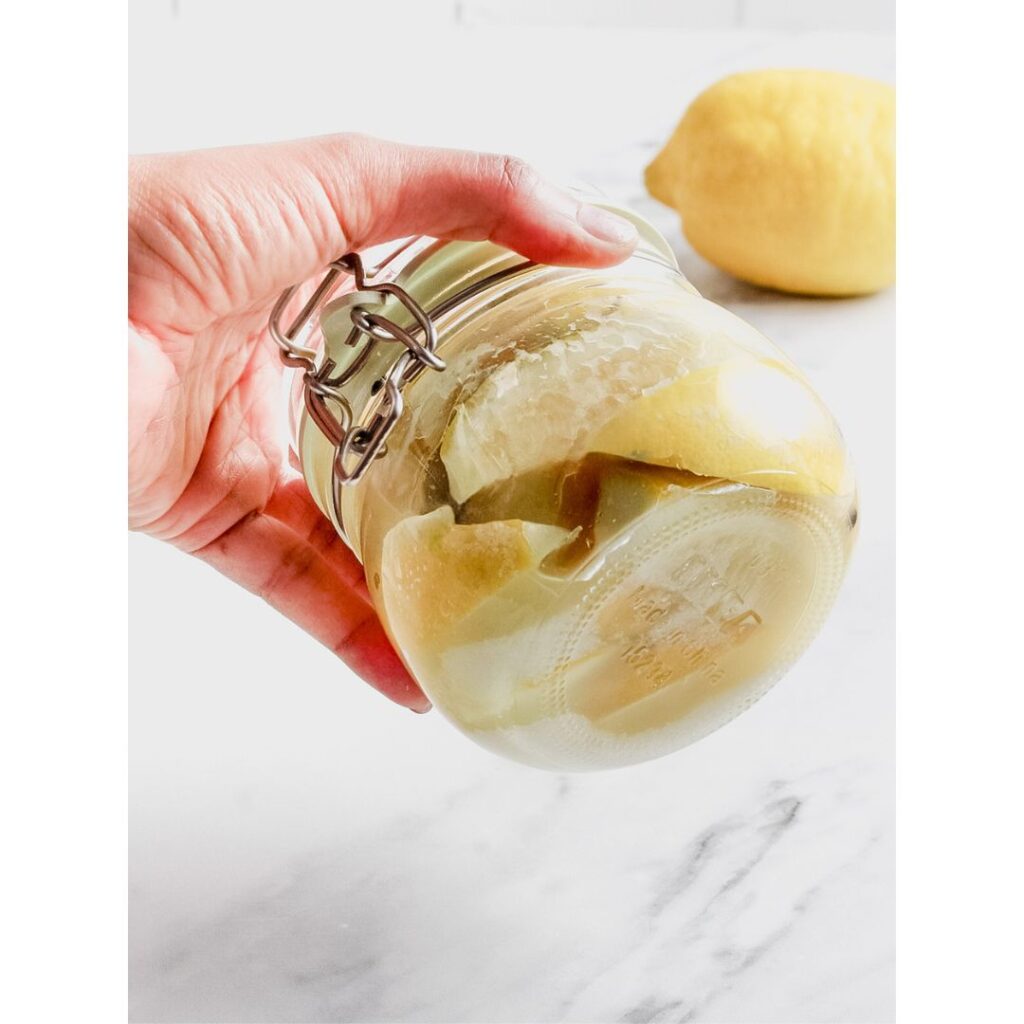
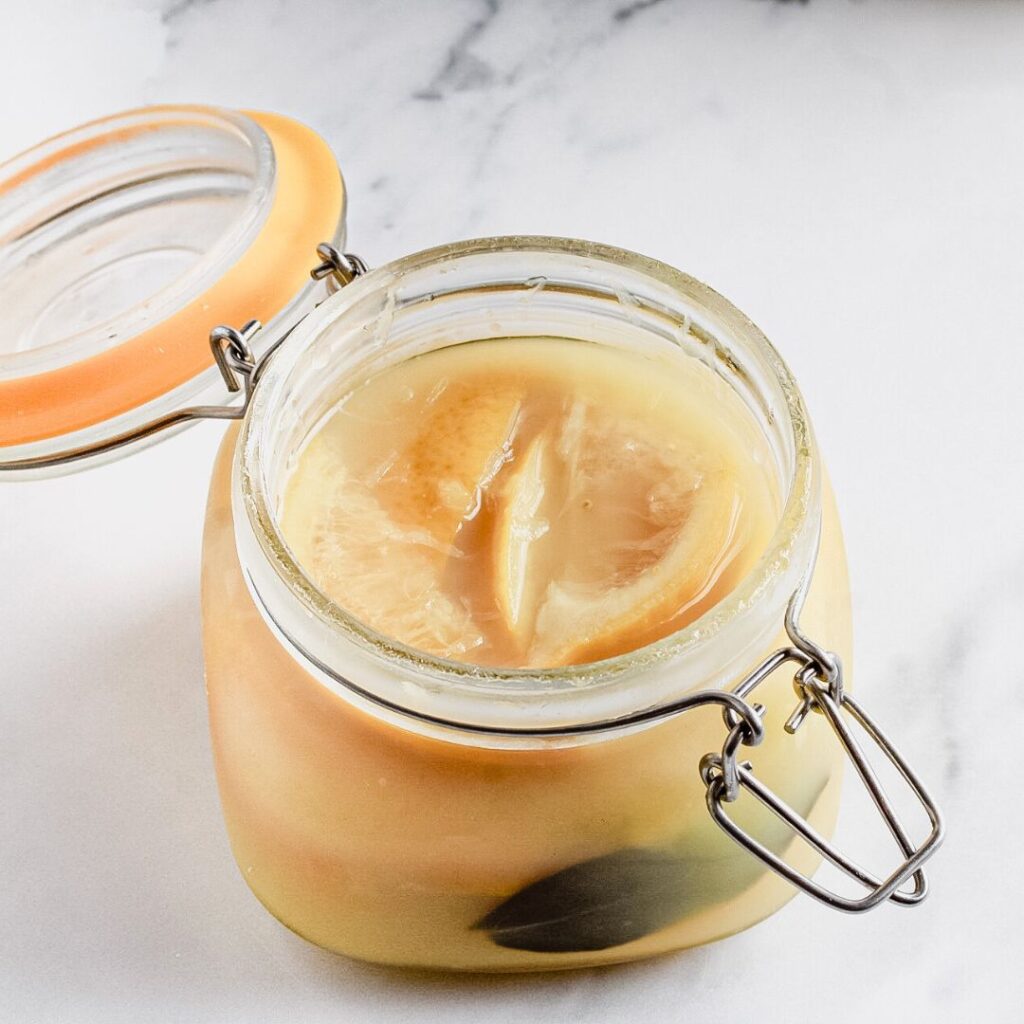
BELOW: PRESERVED LEMONS AT 4 WEEKS+
You can see the difference in the liquid. Cloudy liquid, silky and delicate lemon wedges.
*Some affiliate links are within this post. See policy for more details. Thanks for your support!
Learn how to make small-batch preserved lemons with sea salt — a simple, elegant kitchen ritual that transforms ordinary lemons into soft, citrusy jewels perfect for brightening tagines, salads, and dressings.
Yield: 1 pint jar (about 4–5 lemons)
Prep Time: 10 minutes | Fermentation: 3–4 weeks
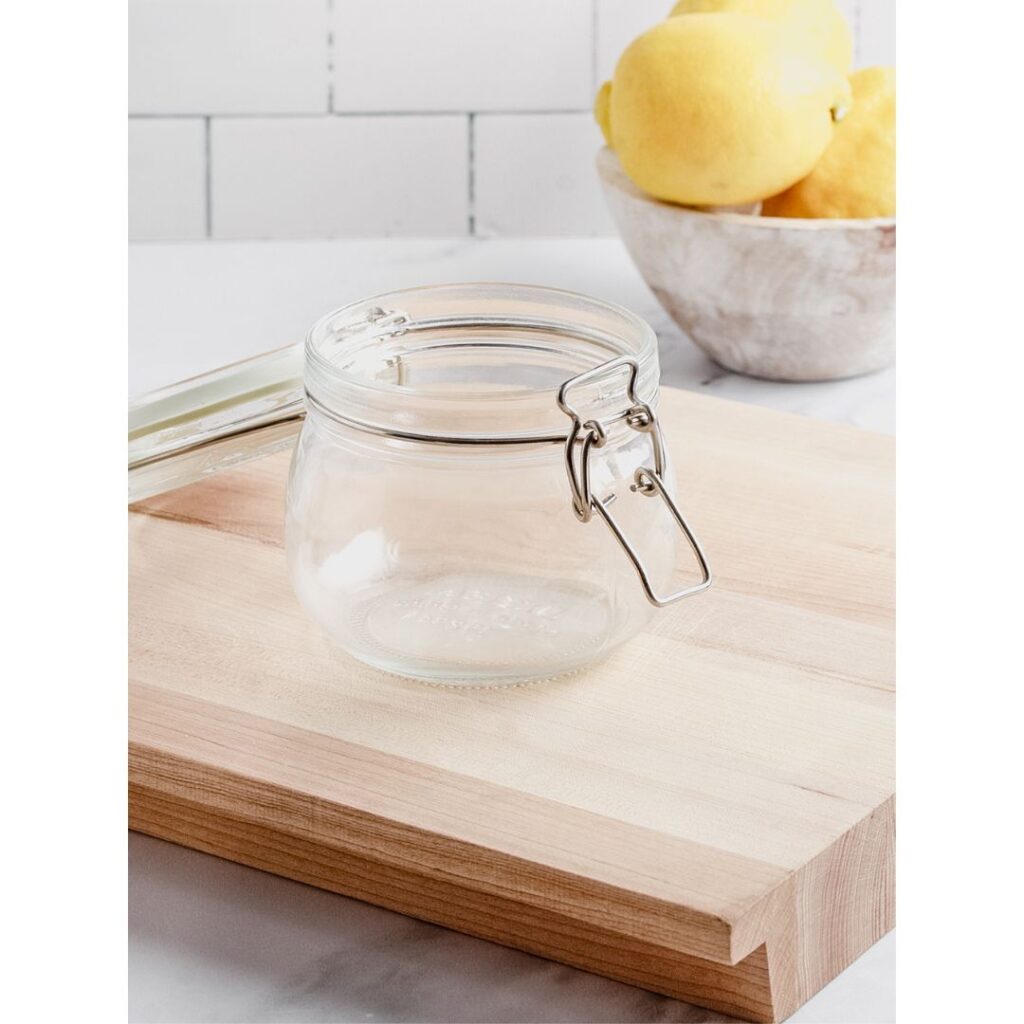
Equipment: You will need coarse kosher salt (or coarse sea salt) and a pint jar with a lid. I like wide-mouth jars.
If you need to sterilise more than one jar, follow the method here.
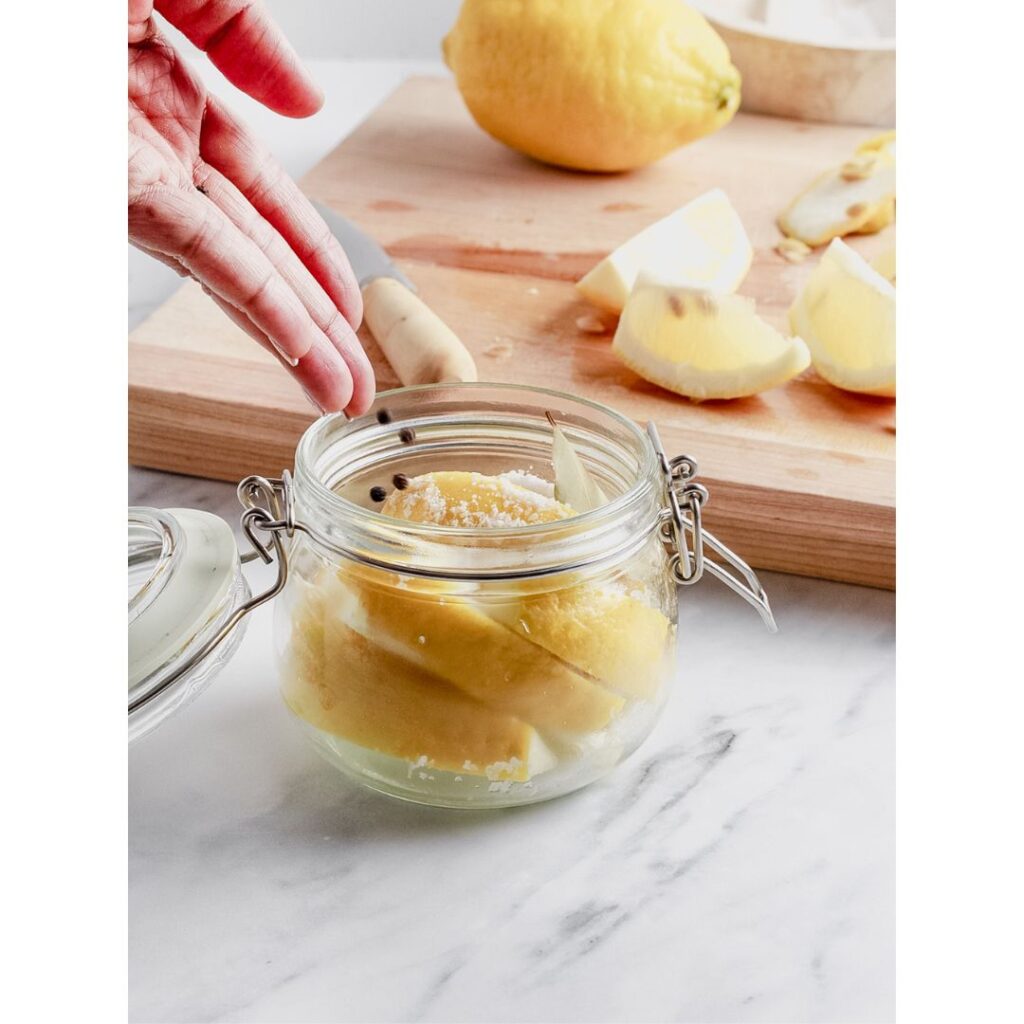
Don’t worry, if you don’t have bay leaves, try adding a few black or pink peppercorns, or a cinnamon stick to the jar for a subtle aromatic twist.
If you don’t have organic lemons, do the following:
Prepare the lemons by first washing them thoroughly, then fill a pot (with the capacity to hold 5 lemons) with water. Bring it to a boil. Place the lemons in the boiling water for 8 to 10 minutes, to clean the lemons, removing any excess dirt, and wax on the peel. Place them on a clean towel to dry completely. Remove the lemons from the pot and proceed to Step 3.
Thanks so much for your support!